**This is an old revision of the document!**
Soft Synths
Software synthesizers (“soft synths”) revolutionised electronic music making, allowing artists to stop depending upon heavy and very expensive gear but still make amazing sounds. The open source soft synths, for their creativity and variety, and no- or low- cost, will revolutionise your electronic music yet again.
Open source is not a centralised entity, so when one asks around for “some good open source synths”, then the answers are going to pour in and lead to every corner of the Internet. What you prefer on any given day depends on your personal preferences and what you need for a project. The best thing you can do, probably, is to collect as many open source synths as you want and experiment around with them just as you would do if you had unlimited funds in a synth shop.
If you are not the type to do that, and would prefer one or two good synths with lots of preset banks, then you are not a knob twiddler (or “tweaker” in the vernacular), and happily there are open source synths for that too.
Soft synths come in two varieties: stand-alone synths and plugins. Stand-alone synthesizers are launched just the same as any other applications; you find it in the applications menu, launch it, and interact with it, piping its sounds to other applications with JACK. Plugin synths are meant to open inside of some other applications, like a DAW (Digital Audio Workstation), and are routed directly through the DAW's mixer.
Plugin Formats and Stand-Alone Synths
Linux audio recognises several different plugin formats for effects and synths:
- DSSI - a native plugin format, often with a functional UI
- LADSPA - a native plugin format, usually with a basic UI
- LV2 (LADSPA version 2) - a native plugin format, often with a rich UI
- VST (native Linux) - they are rare, but Linux-native VST plugins do exist
- VST (Windows binaries, through WINE) - it is theoretically possible to load a Windows VST plugins within Linux by using WINE libraries. It is often done, but performance and success varies greatly depending on the plugin. Since this usually involves using non-open source plugins, the longevity of these plugins is at risk, so Slackermedia advises against using non-native closed source plugins; it's usually better to migrate from tools that you cannot guarantee and toward open source tools which never die.
With JACK, all applications can be channeled through a single system, whether the application was designed as a stand-alone application or as a plugin. This blurs the line between what it means to be a stand-alone application or a plugin, and that's a powerful level of flexibility that simply does not exist in closed systems.
There are three different ways to run many (not all) JACK-aware applications. There is no “right” or “wrong” way; it depends on what the project needs and what your style of working is. Your choices are:
Plugins to larger JACK applications
Usually, it's best to run an filter or effect as a DSSI, LADSPA, or LV2 plugin, if possible; the host application (usually a DAW) handles all of the filter settings and is able to unobtrusively spawn a unique instance of the filter on a per-track basis.
Stand-alone application
Sometimes it isn't possible to run something as a plugin, or you prefer not to run it that way. In some cases, a filter can be launched as a stand-alone application, integrated into your audio pipeline through JACK. In this model, all settings (banks, patches, tweaks, levels, and so on) are maintained by you, the user. This means you have to keep track of saved settings (it helps to use a project manager like Slackermedia's Planter) and JACK routes (see aj-snapshot).
Hosted JACK application
If you cannot run the application as a stand-alone application, there is probably a JACK host (such as Jack Rack, Calf JACK Host, or jackdssihost|jack-dssi-host) which can act as an anti-DAW into which the plugin can be loaded and used. The settings (banks, patches, levels, and so on) are maintained by the host application, but independent of any DAW you might be using, so you still have to keep track of the saved session files of whatever host you are using.
Finding Synths
The internet is full of great open source noise makers. If you look hard enough, you will find all sorts of great toys. This section contains but a small sample of what is available.
A good resource is http://www.linuxsynths.com/, although it is mostly an impartial collection with no regard for usability or stability. It's a great resource for patch files and as a reference to what's out there.
To help categorise each synth, the following icons are being used (none of these are exclusive of another, and this is an imprecise taxonomy and should be used for quick reference only. The only way to know a synth is to use it.):
- D DSSI plugin
- L LADSPA plugin
- V LV2 plugin
- A Stand-alone application
ALSA Modular Synth (ams)
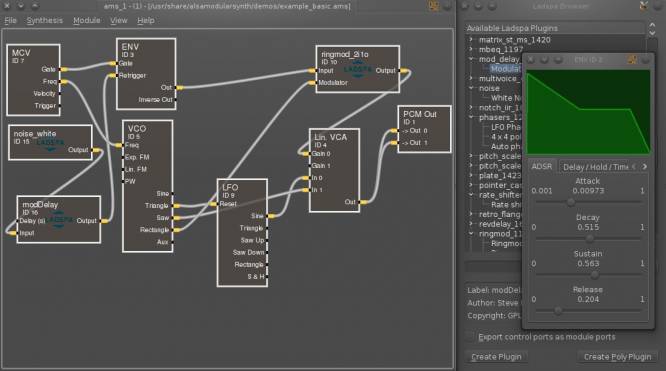
If old pictures of towering synth components inter-connected by a (figurative) rat's nest of cables inspire you, then you ALSA Modular Synth is what you want. Alsa Modular Synth takes a node-based approach to software synthesis, just like the modular synths of old. Sounds are created by stringing together oscillators, modulators, and filters with virtual cables, similar to the Patchage or Natron interface.
ALSA Modular Synth is available from http://slackbuilds.org in the audio category as alsamodularsynth.
Usage
Launch ALSA Modular Synth with the ams command from a terminal:
$ ams --jack &
Modular synthesis can be intimidating at first, and ALSA Modular Synth (ams) has a steep learning curve even if have some experience with synthesis. The most effective way to learn ams is to read the official documentation, but even it suggests that the first step is to load up a sample patch and experiment with it.
Sample patches are included in /usr/share/alsamodular/synth.
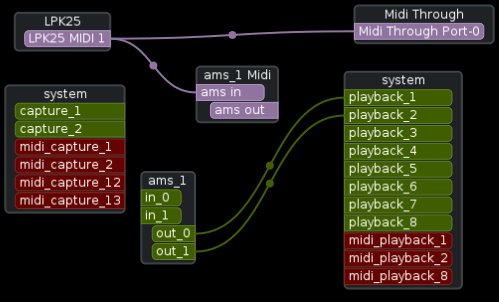
Once a patch is loaded, use Patchage or QJackCtl to route MIDI from System Capture into ams Midi In, and audio from ams Audio Out to System Playback.
The interface itself is node-based, using virtual “cables” to patch one node to another. It is similar, but works differently than what you might be used to in Patchage, Blender, or Natron.
Create a new Node:
When ams starts, it's an empty shell. Since you'll probably start with an example pre-set, some nodes will be loaded when you open the example file, but you can and should add your own as well. To add a node, right-click on the background area of ams (not on an existing node). Choose your node type from the contextual menu that appears.
Create a new LADSPA Node:
LADSPA effects can be loaded into ams as nodes, meaning you can use the outputs of filters to drive the sounds of the signals generating sound. Create a LADSPA node from the Module menu → Show LADSPA Browser. Select any LADSPA plugin from the browser and click the Create Plugin button at the bottom of the window.
This is not immediately obvious in the design of the UI of the LADSPA Browser window, but only the nested items can be added to ams. Don't panic when you select a heading in the list and find that it cannot be added; it's just a heading. Look inside the category you want to use, and add the item or items there.
Connecting Nodes:
If an input port is already occupied by another cable, then disconnect the existing cable first. An output port, on the other hand, can have multiple cables drawn from it.
To connect the output of one node to the input of another, click the outgoing port (it turns red when clicked), and then click the input port you want to connect it to. There is no drag-and-drop action in ams.
Disconnecting Nodes:
 To break a connection between two nodes, click the label of the input port you want to “unplug” and select Disconnect. You must click on the label of the port, not the cable, not the node; right-click the label. It can be a little tricky, so be precise.
Configuring a Node:
Removing a Node:
A node cannot be removed until all active connections to and from it are broken. Once a node is free of any connections, right-click on the node and click the Remove Node button at the bottom of the configuration panel.
Sessions
ALSA Modular Synth is a stand-alone synth, so you are responsible for any work that you do inside of it. Save your patches in File → Save As, and make sure you store them in a logical location. You might save patches into a standard location so that you can use them in other projects, or you might save them to each project individually; either way, you are responsible for your own data, so keep track of it so that you don't lose your hard work.
Documentation
Full documentation, including tutorials and a good overview of synthesis is available at http://alsamodular.sourceforge.net/alsamodularsynth_doc.html
Amsynth
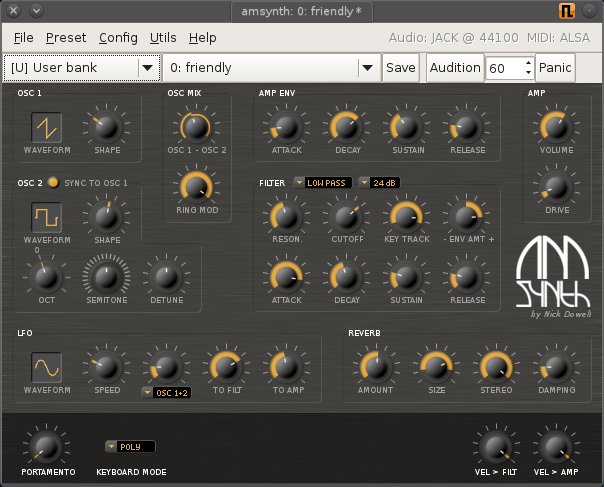
Amsynth is a subtractive synthesizer with two oscillators, an LFO filter, internal reverb, ADSR envelope controls, and more. It operates as a stand-alone synth, or as a DSSI plugin, and features 17 banks of sounds (more are available at its website), making it an easy synth to get started on.
Install
Amsynth is installed by default with the Slackermedia queue file. If you did not install it, get it from http://slackbuilds.org.
Usage
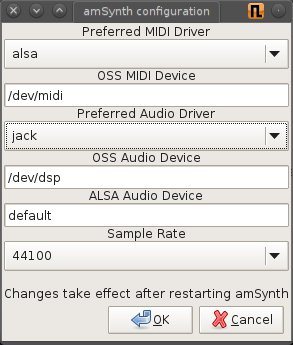
When you first start amsynth as a stand-alone unit, it may be set to use ALSA by default. If you are using JACK, this needs to be changed in Config → Audio&MIDI. The only MIDI driver available is ALSA, but since you [should be] using the seq MIDI driver in JACK, the ALSA MIDI signals are echoed to JACK MIDI. Set the audio output to JACK.
Load presets (patches) from the Preset menu → Import Preset.
Load banks of presets from File menu → Open Bank and select individual patches from the drop down menu in the top toolbar.
Sessions
Save your custom patches in Preset menu → Export Preset. This selection exports a single Synth preset file (a single patch).
If you are building your own bank of patches, save your work from the File menu → Save Bank As…
If you are using amsynth as a stand-alone application, you are responsible for your own custom modifications. Any tweak of any knob will be lost if you close amsynth without saving your work.
If you use amsynth as a plugin to a DAW, then the settings and routing are managed by the DAW.
Bristol
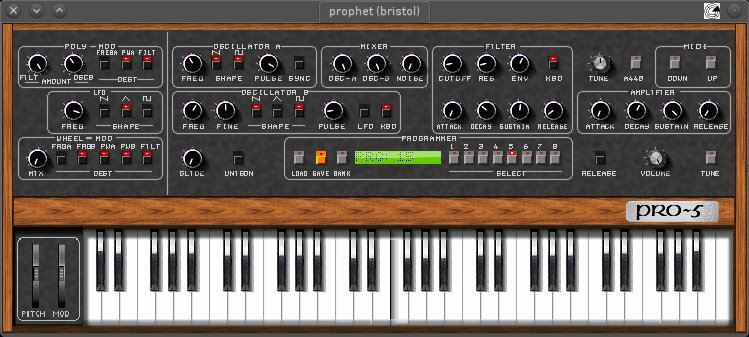
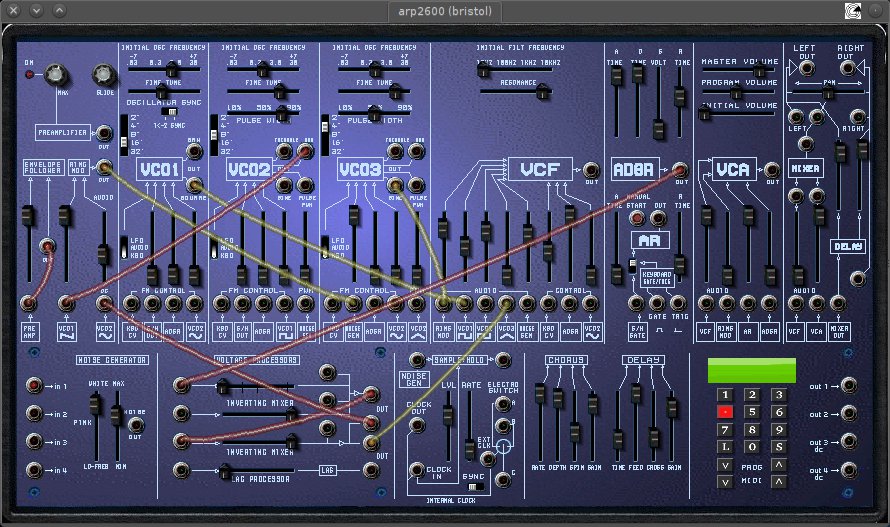
Bristol emulates classic synths and organs. It features a richly designed Brighton interface that emulates the hardware look and control scheme of each synth, and ships with full banks of sounds for each emulation.
No matter what your favourite synth is, it's likely you will find an emulation of it in Bristol. It can be argued that not all emulations hit their mark (the Rhodes emulator, for instance, uses a DX7 voice); it depends on how much an audiophile you are. Bristol is not as robust as, for instance, amsynth, but it's a nice show piece and possibly a great source for vintage (or vintage-like, depending on your standards) sounds.
It's hard to argue that Bristol doesn't provide a great set of fun synths to play with, so have a look at the website to see the “menu”.
Install
Bristol is available from http://slackbuilds.org. All of the synths listed on the site are included in Bristol, so it only takes one install.
Usage
Since Bristol has so many emulation modes, it is launched from a terminal, along with the synth to emulate. For a full list of synths available, start with:
$ startBristol -help
Choose your synth, and launch:
$ startBristal -jack -arp2600 &
Note the use of only a single dash in the options; it is not startBristol –mini but startBristol -mini.
The desired synthesizer appears on your screen as well as in JACK.
Sessions
For all the detail of its emulators, Bristol does not feature much of an interface for saving your work manually. Each emulator that can be modified features an interface through which you can load and save patches, but the interface is usually small, assumes that you know how to use the synth in question, and not very verbose.
You do, of course, have access to your saved patches; all user data that gets saved within Bristol is saved in a hidden folder in your home directory: ~/.bristol. Bristol does not allow for importing patches from locations other than its config location, and it does not allow you to change the config location. To sum up, the best you can do, if you want to keep your Bristol patches with your project files, is make a backup or a snapshot of your Bristol config. This ensures that your custom patches are frozen along with the rest of your project.
DX7 Emulators
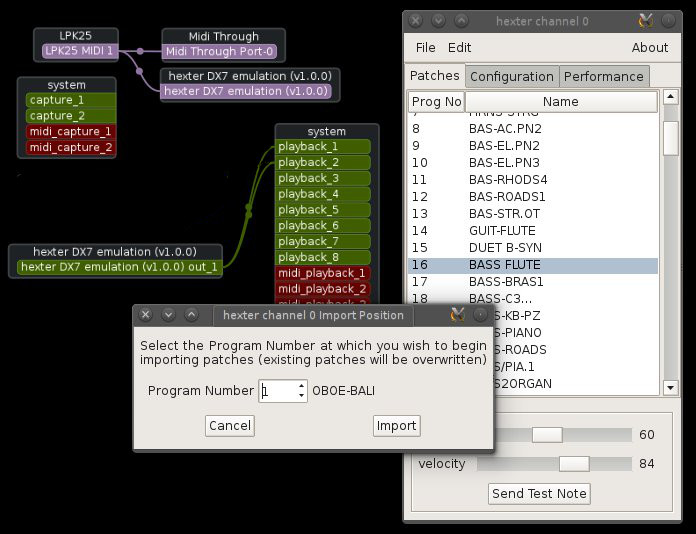
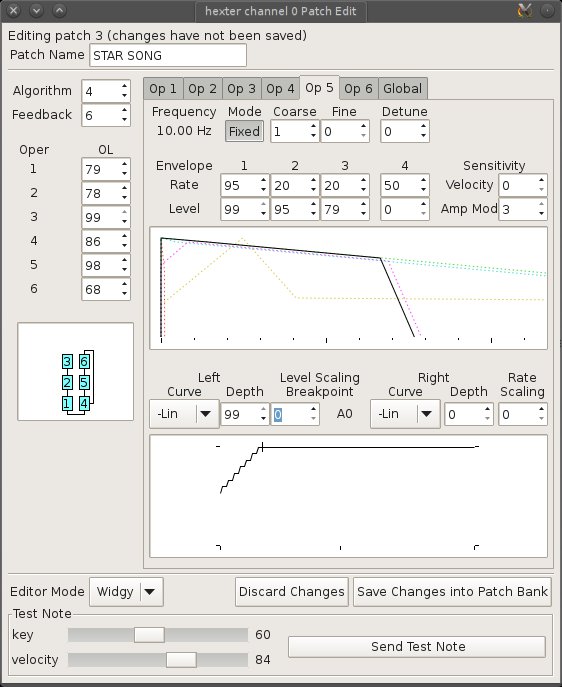
The Yamaha DX7 is a hugely popular digital synthesizer from the early 80s. It was an early FM (Frequency Modulation) synth, and as such did not have a terribly friendly interface for creating custom patches. That didn't stop people from doing it, though, and with software DX7 emulators, all the old DX7 patch files that were created and shared on sites like dx7heaven and synthzone are as useful now as they ever were.
Most DX-7 patches, like Soundfonts, pre-date concepts such as Creative Commons and even the idea that a GPL-like license could ever be needed among a creative community of synth geeks, so most are assumed to be in the Public Domain, but few provide any kind of official statement on the subject. Searching the Internet for “dx7 patches” brings up hundreds of DX7 banks (each containing any number of patches), but even easier is downloading the Great Linux Multimedia Sprint vol 3 from Slackermedia, which contains several megabytes (they just aren't that big) of DX7 patches collected from around the 'net.
The most typical format for DX7 patches is standard SysEx (a MIDI System Exclusive command).
There are two popular DX7 emulators, one of which (Hexter) is installed by default with the Slackermedia queue file.
Dexed
A DX7 emulator
Hexter DSSI
Hexter is a software emulation of the famous Yamaha DX7 synth, and as such it can load most DX7 patch files.
Fluidsynth Players
The Soundfont format delivers low-overhead, sample-like sound banks in surprisingly small file sizes, and in the same proliferation (and mixture of quality) as typeface fonts. Inarguably, Soundfonts are powerful sound sources, and the easiest way to play them back on a Linux system is with a host like http://www.fluidsynth.org.
Fluidsynth DSSI
Fluidsynth as delivered by its authors has no GUI, but the DSSI GUI developers created a simple frontend for fluidsynth so that it can easily be used within any Linux DAW that recogises DSSI (and most of them do).
Fluidsynth DSSI is the very definition of minimal; click the Load button to load a soundfont bank, and select the patch from the list it produces.
Routing
If being used as a DAW plugin, there is no routing necessary aside from whatever your DAW requires.
Any DSSI plugin can also be used as a stand-alone unit by using the jack-dssi-host application bundled with the DSSI install.
Sessions
If being used as a DAW plugin, you do not need to save sessions. Its settings are handled by your DAW.
QSynth
S
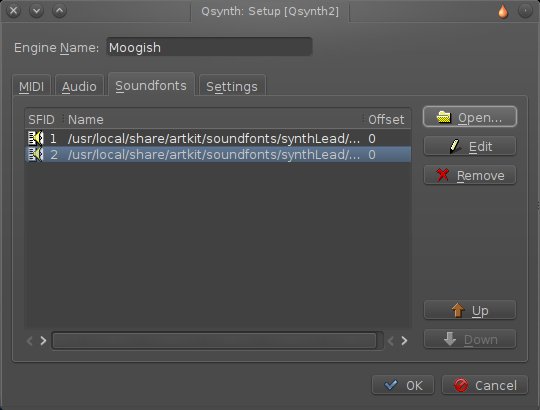
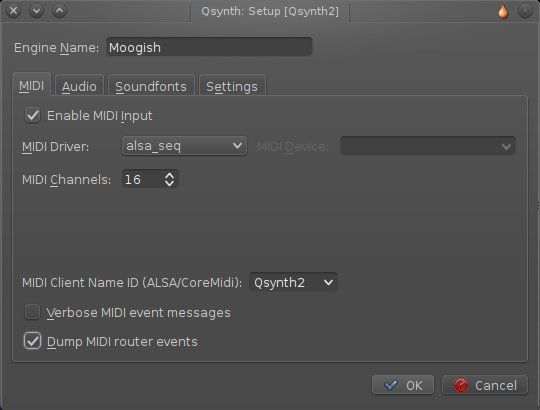
Qsynth is a stand-alone frontend to Fluidsynth. It is multi-channel, so in one instance you can map several different soundfonts to several different MIDI channels.
Install
Install QSynth from http://slackbuilds.org.
Usage
An instrument in QSynth occupies one channel. Load a Soundfont into the first channel (labelled “QSynth1” by default)
Ingen
Obxd
An Ob-x, Ob-a, and Ob-8 emulator.
TB-303 Emulators
The Roland TB-303 was originally released in the early ' 80s but became iconic after its re-birth as the rhythm section for electronic music in the '90s and early '00s. It is a monophonic analog bass synthesizer with an in-built step sequencer. It had just one oscillator with just two waveforms to choose from, but featured enough control over resonance, cut-off, envelope, tuning, to make it a proper synth and not just a bassline generator.
There are two popular 303 emulators, one of which (Nekobee) is installed by default along with the DSSI package.
Nekobee
Nekobi
Vex
Vex is a 3 oscillator subtractive waverom synth
WhySynth DSSI
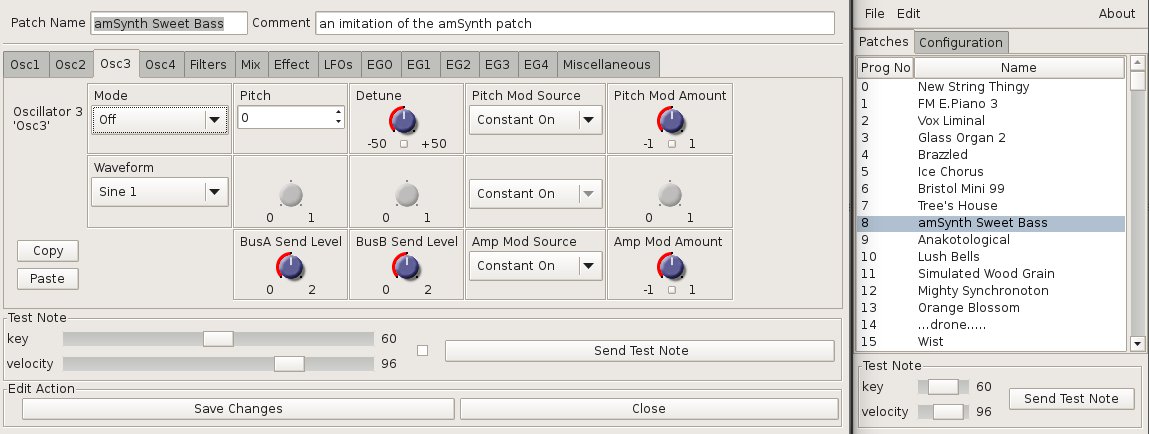
WhySynth combines bits from Xsynth-DSSI (classic-analog VCO, VCF, and VCA synthesis), hexter, Csound, and various other programs, with inspiration from hardware synths like the Matrix 6, ESQ-1, K4, plus several other sources and models. All of this results in two things: a great synth plugin with heaps of ready-to-use patches, as well as a rich customisation layer underneath if you prefer to take the time to model your own sounds.
Install
Install from http://slackbuilds.org.
Routing
plugin vs jack host
In the event that you do create sounds that you might want to use in other songs, you can export them by ….
blah blah
Wolpertinger
Wolpertinger is a subtractive, antialiased polyphonic software synthesizer, now working as a LV2 plugin.
XSynth DSSI
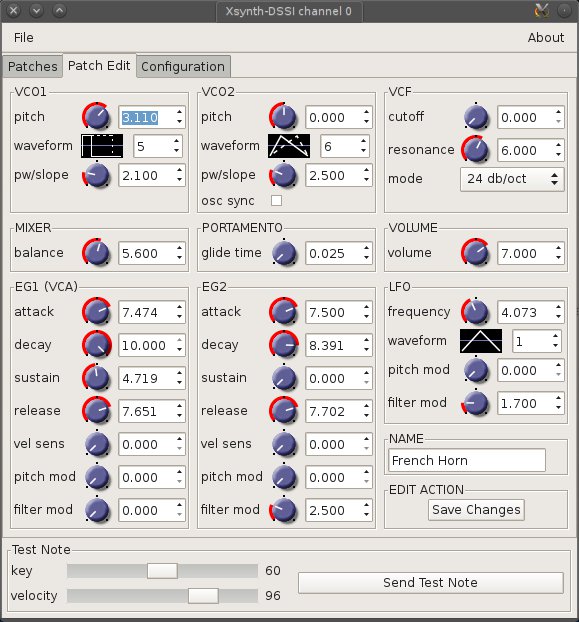
A classic-analog style DSSI softsynth based on Steve Brooke's Xsynth code. More than just a DSSI frontend for XSynth, this plugin features polyphonic operation, band-limited oscillators, an improved filter mode, and velocity-sensitive envelopes.
Yoshimi
Yoshimi is a fork of the well-known and respected ZynAddSubFX synthesizer. It inherits all features from ZynAddSubFX and improves it all round, so while you may read and hear about ZynAddSubFX in your research, there is no need for it since Yoshimi.
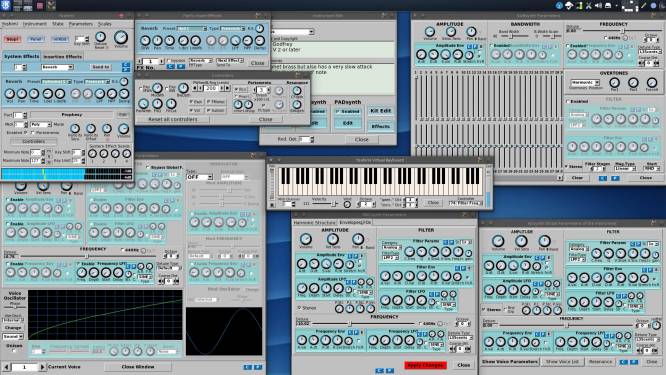
Yoshimi is a stand-alone synthesizer and, quite possibly, it is the only soft synth you'll ever need. Its capabilities are staggering. It contains oscillators for additive synthesis as well as subtractive synthesis, onboard effects, voice parameter settings, filters, and modulators enough to fill a screen.
To begin, launch yoshimi from the K Menu or from a terminal. When launching from a terminal, give it a unique name:
$ yoshimi -N foo
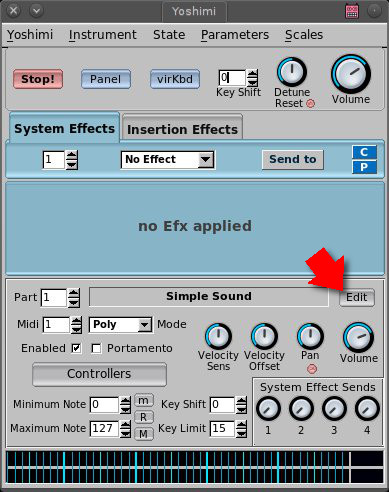
To choose a patch to start with, click the Edit button next to the patch name:
Choose your synth bank and patch from the window that appears. Feel free to edit any aspect of any patch; Yoshimi knows no limitations.
Routing
Basic routing in your patchbay is straight-forward; send System Capture MIDI to Yoshimi and send Yoshimi audio to System Playback.
If you are using multiple instances of Yoshimi, you must set the MIDI channel that each Yoshimi listens to for instructions .
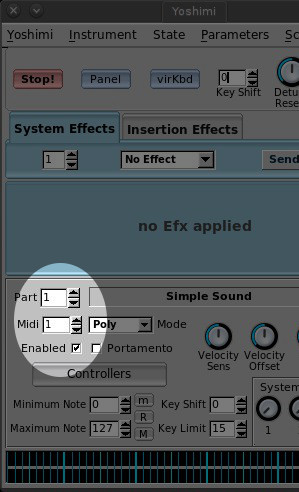
Each Yoshimi instance has the potential to play 16 separate parts. By default, all settings in Yoshimi fall into Part 1, on MIDI channel 1.
To create a new part:
- Increment the part number in the Part field.
- Increment the MIDI channel in the MIDI field.
- Put a tick mark in the Enabled checkbox.
Your MIDI controller will still trigger each part on Yoshimi because all MIDI signals are being routed through the System MIDI Thru port. To restrict what is being sent to which Yoshimi part, use a good sequencer or DAW, such as Seq24 or Qtractor (or any other sequencer or DAW recommended by Slackermedia).
Sessions
Since Yoshimi is only a stand-alone synth, no other application will ever manage its settings. This means that if you load a patch, compose a song, and shutdown your computer, the next time you launch your project (in whatever sequencer or DAW you are using), Yoshimi will not launch unless you launch it manually, nor will it remember what patch you had loaded into it.
This means you should do two things:
- Save your Yoshimi state
- Store the Yoshimi state file with other project files
Save the state of Yoshimi from the State menu → Save. A state save is a snapshot of all parts and all settings at the time of the save.
Load a saved state back into Yoshimi with State menu → Load, or from a terminal upon launch:
$ yoshimi -N foo -S ~/myproject/sound/synths/yoshimi.state
ZynAddSubFX
The [unmaintained] origin of the Yoshimi synth. Yoshimi is maintained; use it.


