Lightworks Quickstart
First time using Lightworks? You'll be pleasantly surprised at how quickly you can get down to serious editing.
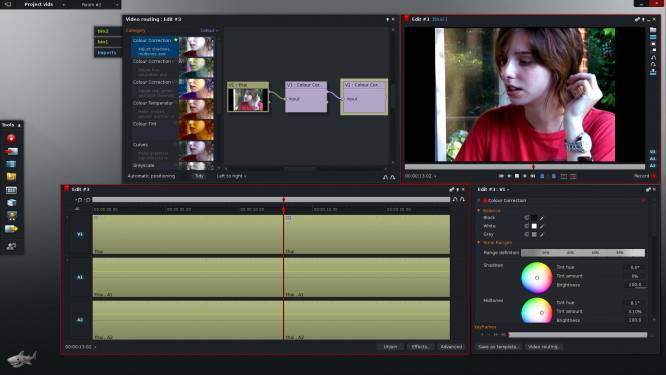
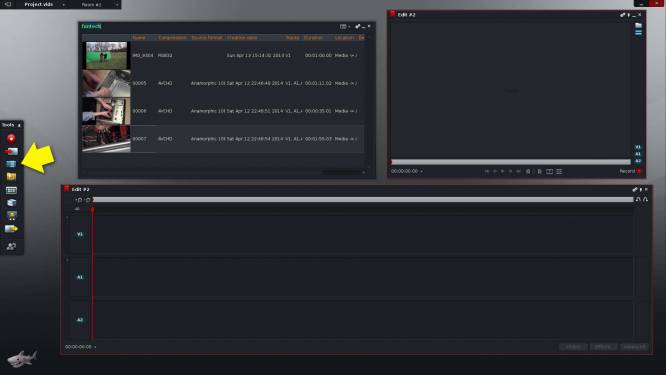
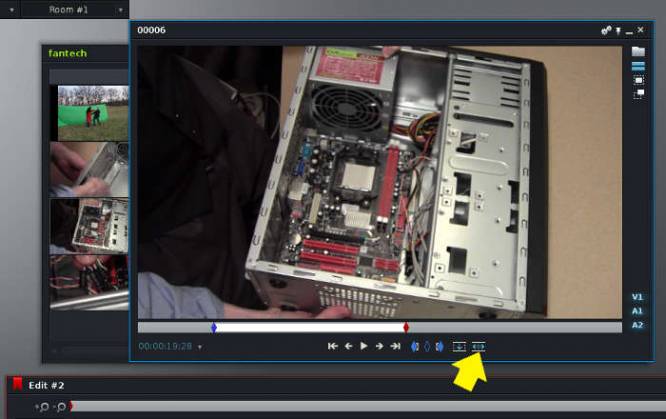
In case you've never seen Lightworks in action, here is a screenshot.
Launch
Launch Lightworks from the K Menu.
Create a Project
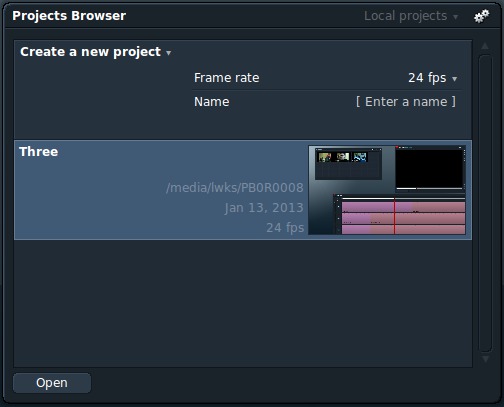
The first thing you'll see is the Projects Browser. If this is the first time you've launched Lightworks then it's probably empty. A common convention in Lightworks is that giving something a name instatiates it as a permanent object. In other words, click the [ Enter a name ] button and start typing. There, you've just created a new project!
Provide a base frame rate for your project. If you don't know the frame rate you want to work in, try looking at the majority of your source footage in a program like VLC or mediainfo and use the most common frame rate.
If you would rather Lightworks guess the frame rate for you, set the frame rate to auto.
When ready, click the Create button in the bottom left.
Import Media
Importing media can be done, generally, in two different ways.
Create Link simply lets Lightworks know that some media exists and that it is allowed to make use of that media. No files are copied from one drive or device to another.
This makes sense if you were given video files from a client, or have already copied video files from your camera to your hard drive.
Copy Local copies files from a device or an external hard drive to your local drive (your storage drive, for instance). Use this if you need copies of files to work on your edit.
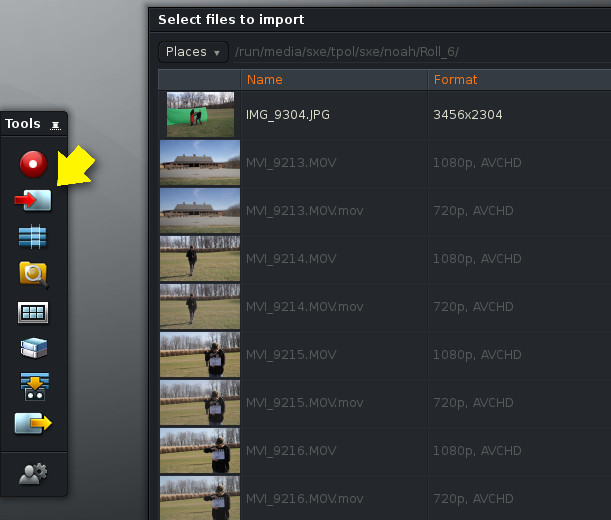
To import media, navigate to the folder or device that contains your video files, select the clips you want to import, and click the Import button.
Create a Bin
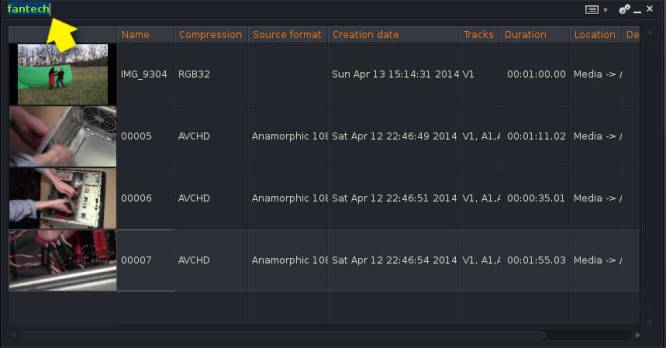
After the import has finished, you're left with a temporary bin that contains all of the footage you've just imported. You can choose to make this bin a permanent bin by renaming it from the default label Imports to something else, or if the footage is unrelated and doesn't belong in a bin together, you can simply close the Imports window.
For now, assume that all the footage is related and make it a permanent bin.
Create an Edit
In Lightworks, what other editors call a “timeline” is called an Edit. In order to start cutting footage together in some way that tells a story, create an Edit by clicking the Create a new edit button in the toolbar on the left of the Lightworks screen.
Two things appear once you click this button: a project viewer and a timeline. If you have any experience whatsoever with professional video editing, things should be starting to look familiar at this point.
View Your Clips
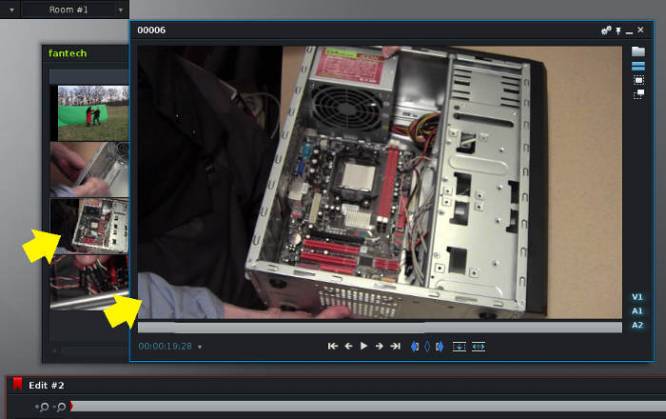
Double-click the first clip that you want to put into your edit from the bin.
This opens a Viewer window.
Mark It and Park It
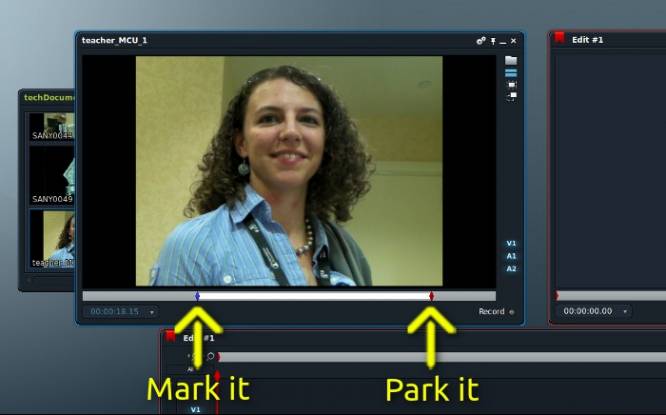
To set in and out points on your clip, play or scrub through the footage until after the slate and just before the action you want to use in your edit. Press the i key on your keyboard to mark In (“marking”, in Lightworks terminology).
Continue to play or scrub through the footage until you have found the end of the action you wish to use. You don't need to mark out as you would in many other NLE's, you simply “park it”, in other words, you leave the playhead at the point you want the clip to end and that serves as a de facto out point.
Insert Edit
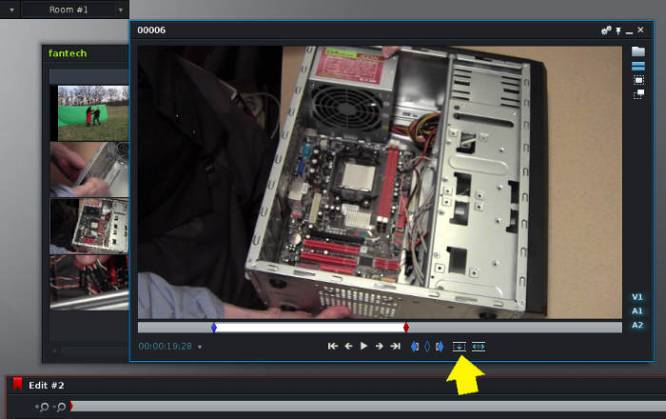
To move a clip from its own viewer to your edit (or “timeline”), click the Insert button in the toolbar at the bottom of the viewer window.
The same rules of any NLE apply: the position of your playhead in your edit (timeline) dictates where the insert edit is made. The active track in the edit determines what track receives the footage.
If you'd rather perform an overwrite edit, then use the Replace button instead.
For Advanced Editing techniques, continue on to the next section.
