Moving Clips
Some video editing applications encourage a lot of dragging and dropping when you go in to fine tune when and where clips occur in your edit. This style of editing works, and feels very “hands-on” but it also can get messy. Lightworks favours a DAW-like, or more appropriately a Steenbeck, approach to editing, mostly.
That's a philosophical and workflow debate that doesn't really matter much when you get down to what an individual prefers, and recently Lightworks has started warming up to the notion of working in the Edit window now and again.
In Lightworks, you can quite neatly move clips around in your edit using the same marking techniques that you use when first started assembling your edit.
Slide a Clip
Sliding a clip along the timeline performs a dynamic, on-the-fly replace edit. This is invaluable for adjusting cutaways in relation to their parent shot. For instance, if you are cutting to a close-up of a character grabbing their coffee cup, you may be happy with the cutaway itself, but not with when you cut out of the master shot to the closeup. Sliding the cutaway along the master is a perfect way of getting a match cut quickly and efficiently.
To slide a clip along a track in the Edit window, navigate to the clip you want to move. On the keyboard, navigate from splice to splice by pressing a to move the playhead left and s to move the playhead right.
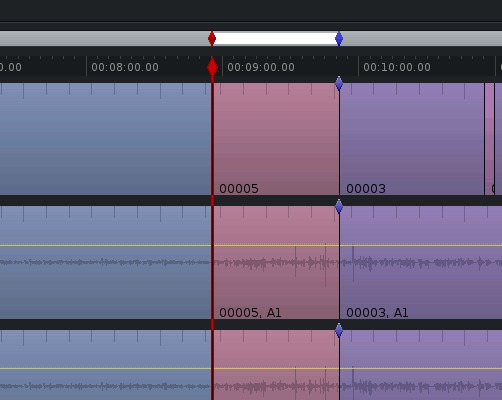
Once parked with the incoming frame of the clip located just to the right of your playhead, press the t key to unjoin it.
To adjust the position of that clip along the Edit, press j or l (or nudge with the arrow keys) to move it either backward or forward respectively.
This move affects the two clips bookending it in the Edit; it truncates the footage of one clip while elongating the footage in the other, all while maintaining the integrity of the clip you are moving.
To join the cut back into the edit, press Tab.
Moving or Re-arranging Clips (Drag and Drop Editing)
Sometimes you just need to pick up a clip and move it somewhere else in the edit, whether it's a cutaway that is better utilised elsewhere, or an entire scene that is getting re-ordered, or just a whim that you'd like to try.
If you are used to video editing applications that are timeline-centric, this is what you are looking for.
You might be used to selecting clips with a lasso tool, moving them into some deadspace in your timeline, and then finding the place you'd like to move the clips to, and then grabbing the clips from where you stashed them, possibly moving clips out of the way in order to make room, and so on. Lightworks has an efficient model of making this possible.
Moving a Single Clip
To move a single clip in the Edit, all you need do is mark the clip, cut it, and then paste it. Here is how:
Navigate to the clip you want to move. On the keyboard, navigate from splice to splice by pressing a to move the playhead left and s to move the playhead right.
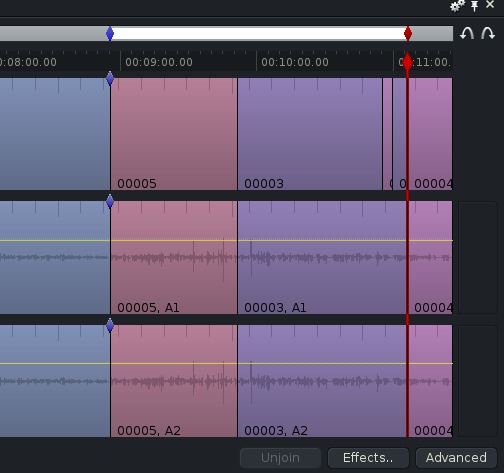
Once parked at the head of the clip you want to move, mark “select”) the entire clip: press the ] key on your keyboard.
If you make a mistake whilst marking a clip, use p to clear the marks.
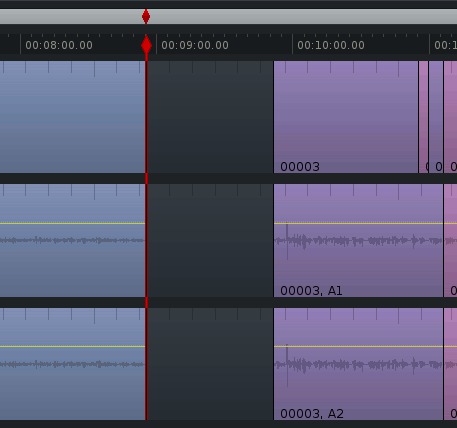
To remove (this is a “lift” delete in some editing terminology, or “just a plain delete” in less technical cirles) a clip from the Edit, replacing it with slug, press z.
To remove a clip from the Edit and move all following clips left, leaving no blank space in your Edit, press x. This is a “ripple” delete in some terminology.
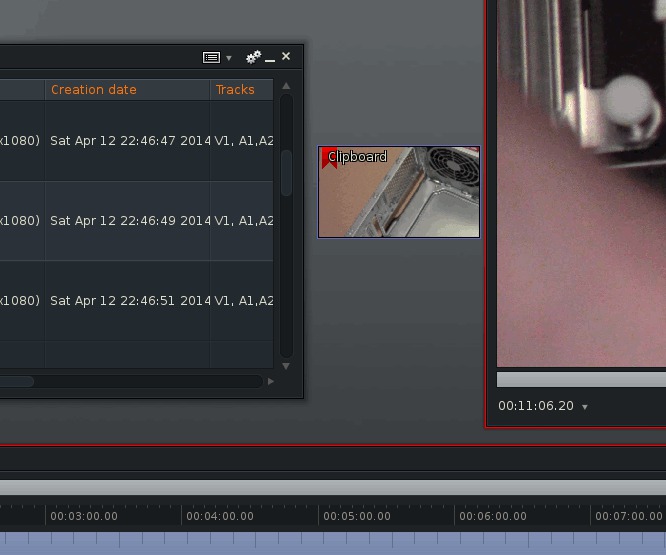
Now the clip is in your clipboard. In fact, you can even see your clipboard, since it will appear as a small, floating imported clip. It does not exist in a bin, and it can be replaced by the next thing you cut or copy.
To paste the clip back into the Edit, simply navigate to where you want to place the clip and press f to perform an Insert Edit, or g to perform a Replace Edit.
Moving a Group of Clips
The only difference between moving a single clip and a group of clips is in how you select them.
Navigate to the clip you want to move. On the keyboard, navigate from splice to splice by pressing a to move the playhead left and s to move the playhead right.
Once parked at the head of the first clip you want to select and move, start a selection of clips as a standard in point (press i).
To select clips now that you have marked in, press s to move right or a to navigate left along the Edit window until you have all the clips “selected”.
If you make a mistake whilst marking a clip, use p to clear the marks.
To remove the group of clips from the Edit, replacing it with slug, press z (a “lift” delete in some terminology).
To remove the group of clips from the Edit and move all following clips left to fill the gap, press x (a “ripple” delete in some terminology).
Now the clips are in your clipboard. To paste the clips back into the Edit, simply navigate to where you want to place the clips and press f to perform an Insert Edit, or g to perform a Replace Edit.
To make your edit pop, try some colour correction in to the next section.


